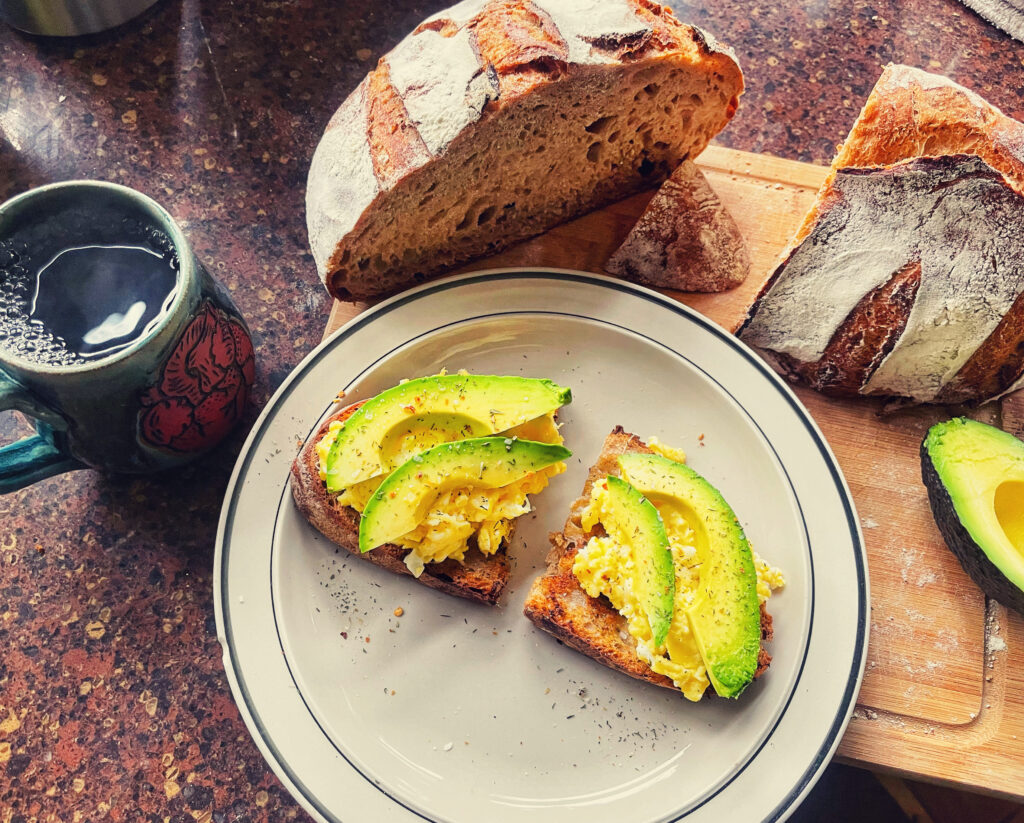
Artisan Bread sounds intimidating. It isn’t. It’s actually quite easy, and doesn’t require any special ingredients and skills other than patience. And really, when you’re working with sourdough, it’s all about patience.
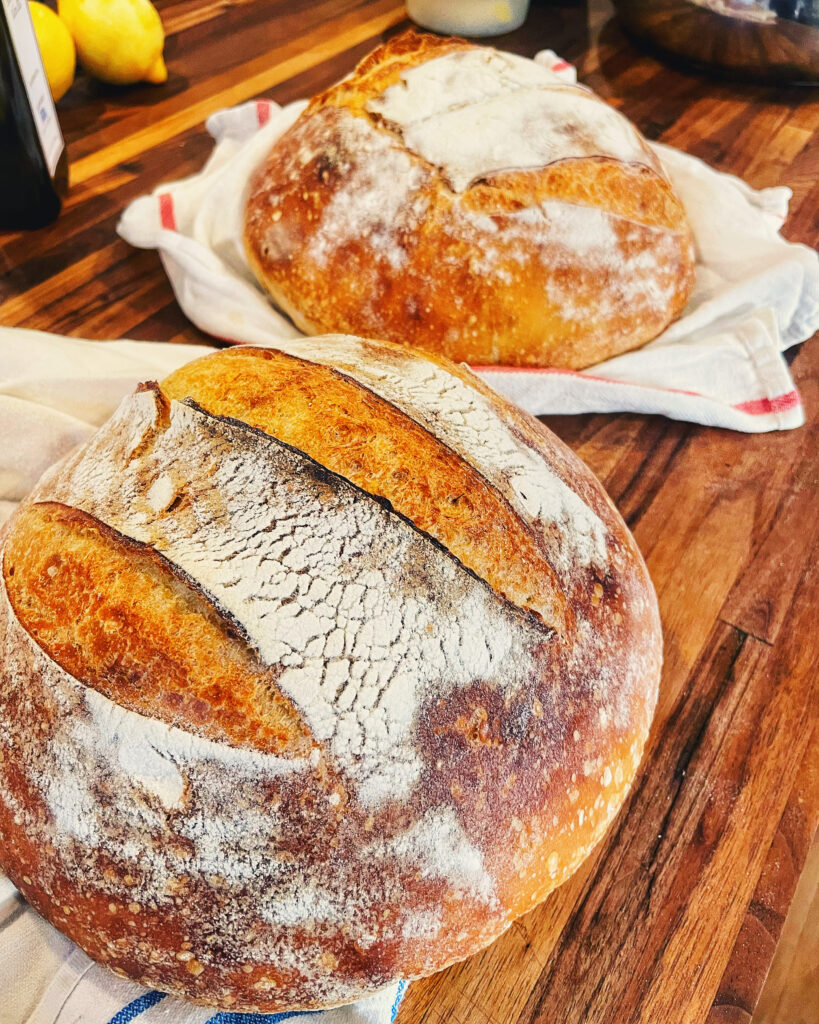
It has been almost two years of COVID life. That just does not seem possible. In that time I’ve gone through 200 lbs of King Arthur flour. And, somewhat unbelievably, not updated any of my bread recipes. Sad story, I let my sourdough starter die. After 18 months of wonderful bread, feeding it daily and using it in every loaf, I just got burnt out. The kids started back in school full time, my teaching schedule picked back up, so I bought loafs from the store, and let it die a slow death in the back of my fridge. On the occasions that I baked, I pulled my jar of yeast from the freezer out of convenience.
But, I started a new one a few weeks before Thanksgiving, and have been happily back in the bread making business. After giving out portions of this new starter for Christmas, I realized that I have learned quite a lot in the last two years, and should make some updates. So here it is. A new year, and a new loaf.
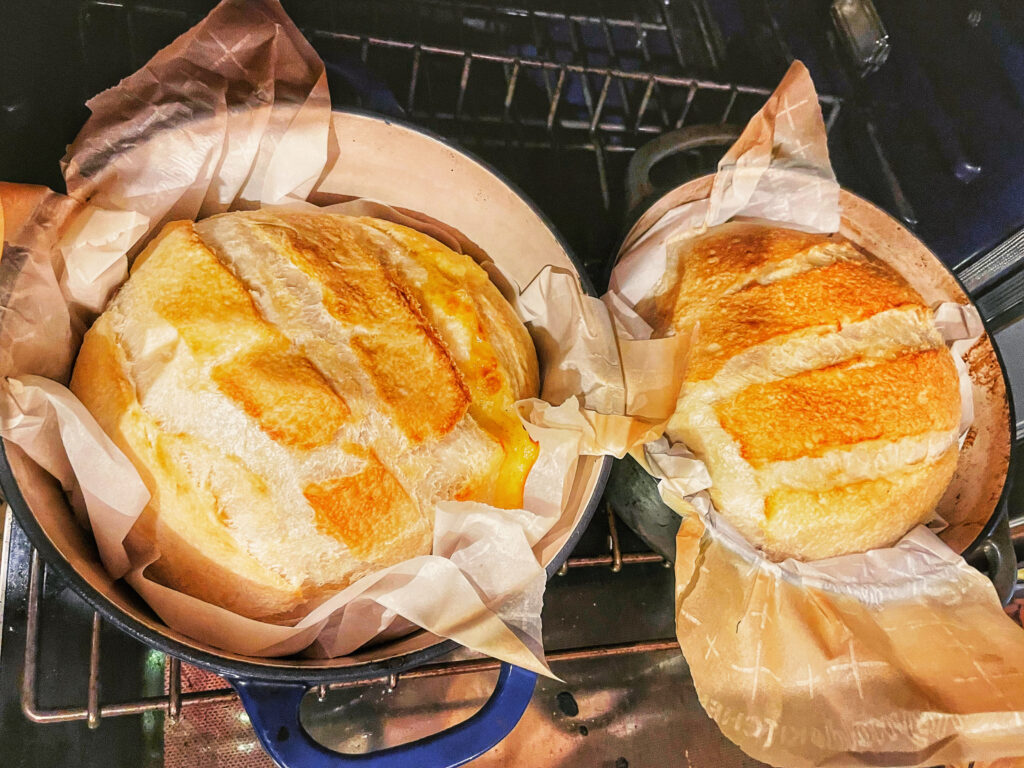
While sourdough takes some time and effort to turn out just right, most of that is hands off. If you time it right, it is pretty easy to schedule into your day.
I have been largely using weight measurements for my sourdoughs, it is much more accurate with things like starter. For flour, a cup equals approximately 125 grams, for liquid (water, oil, starter) approximately 200 grams. Your best bet is a scale though, they’re inexpensive, and make a big difference in consistency.
what you need for the artisan sourdough
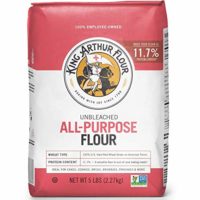
- 600 g Bread Flour
- 370 g water
- 50 g olive oil
- 120 g fed (active) starter
- 12 g course salt (1 Tbsp)
making the sourdough
- Feed your starter (I will usually take 50g of starter from my jar and feed it separately for the recipe, but you can feed the entire jar and take out your 120g later).
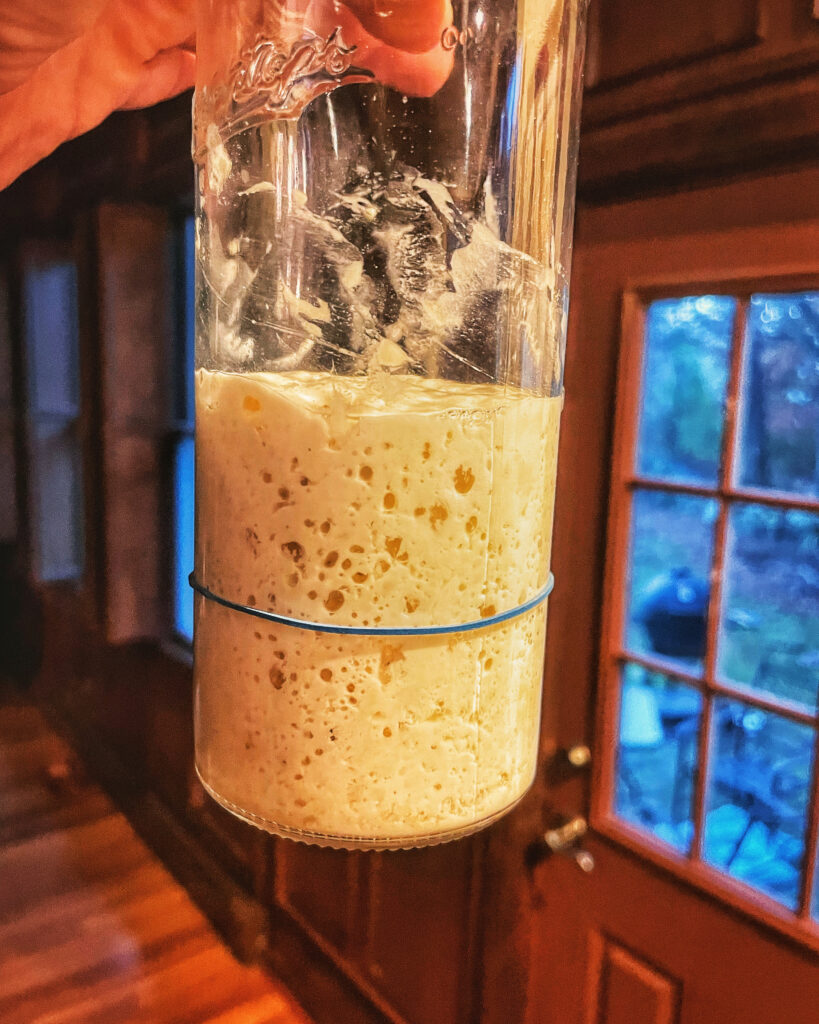
2. In a large heavy bowl, mix your flour and water together until well blended. Cover and set aside.
3. When your starter has doubled, this will mostly likely take a couple hours depending on your temperature and humidity, add the starter and salt to the dough that you blended earlier.
4. Work all of the dough together until uniform. Cover and Let rest 30-40 minutes.
5. In the bowl, stretch your dough out and fold it in half on itself several times until it is very resistant to this (4-5 folds typically).
6. Let rest 30 minutes.
7. Repeat steps 5 and 6 a total of 3 times.
8. Cover your dough and allow it to rise 4-6 hours (or 8-12 hours in the refrigerator.)
9. Turn out your dough onto a lightly floured surface and shape into a rough rectangle, let rest 15-20 minutes.
10. Shape dough gently into a ball or log by folding the outer edges in towards the center, being careful not to deflate it.
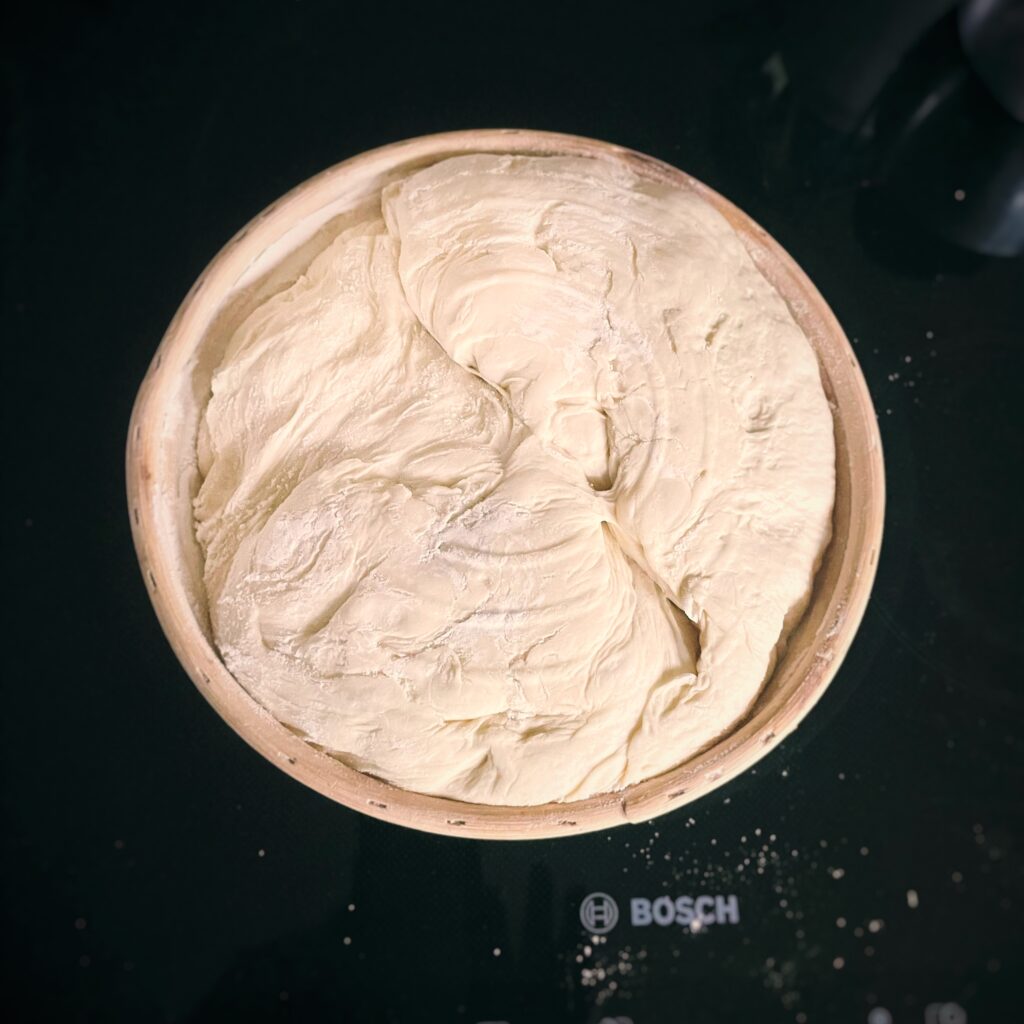
11. Transfer the dough into a greased bowl or proofing basket as desired.
12. Cover with plastic and let rest 4-6 hours or until it has grown roughly 50% (I usually put mine into the refrigerator at this point and bake first thing in the morning)
This is where the patience comes in…
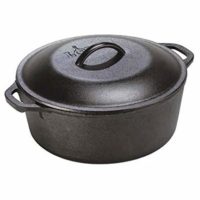
13. Place a large dutch oven with a lid inside your oven and preheat to 450 degrees for at least 30 minutes.
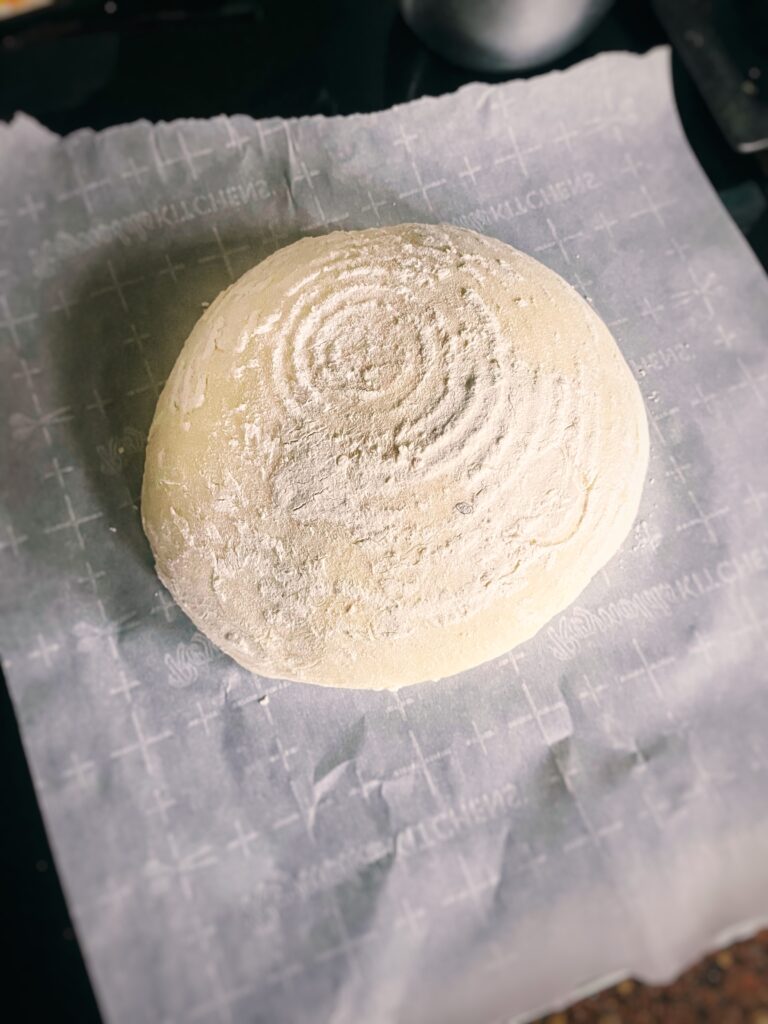
14. Turn the dough out onto a piece of parchment paper, slash and transfer into the hot dutch oven.
15, Bake 30 minutes covered.
16. Remove cover and bake an additional 15 minutes to brown.
17. Let the artisan sourdough cool in the dutch oven 15-20 minutes before transferring to wire rack.
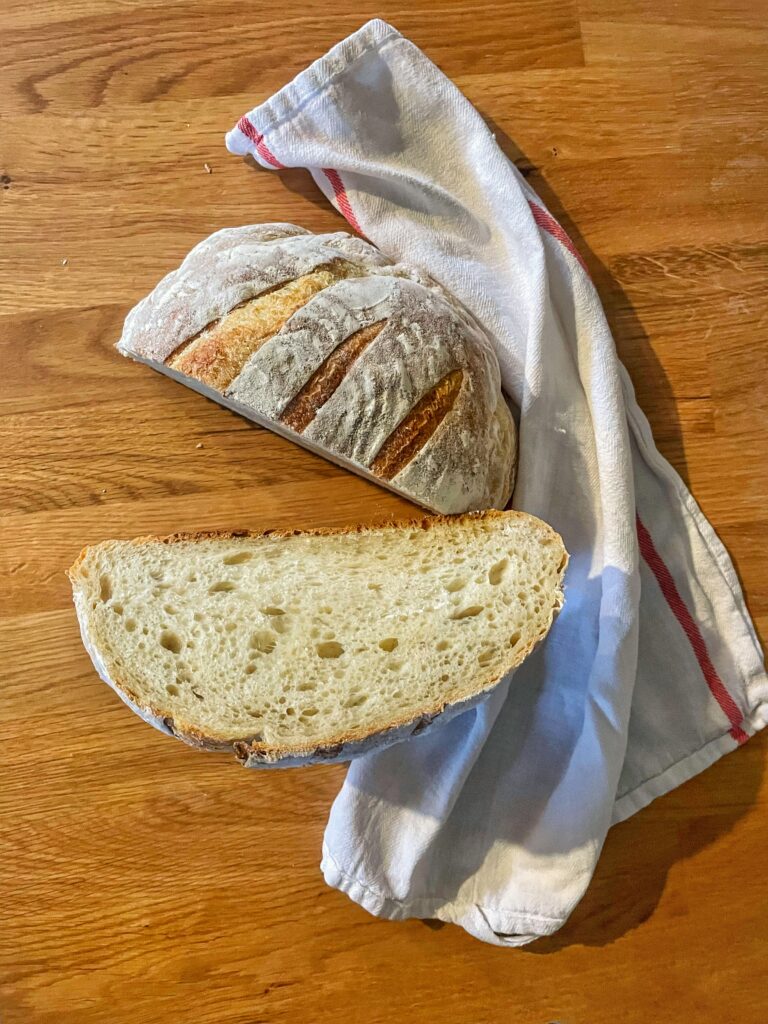
If you’re just starting out in the world of sourdough, give these recipes a go, and let me know how they came out in the comments!
If you have tried my Artisan Sourdough Bread, or any other recipe on Real Life with Dad, please rate the recipe. And be sure to follow us on FaceBook and Instagram @RealLifeWithDad
Artisan Sourdough
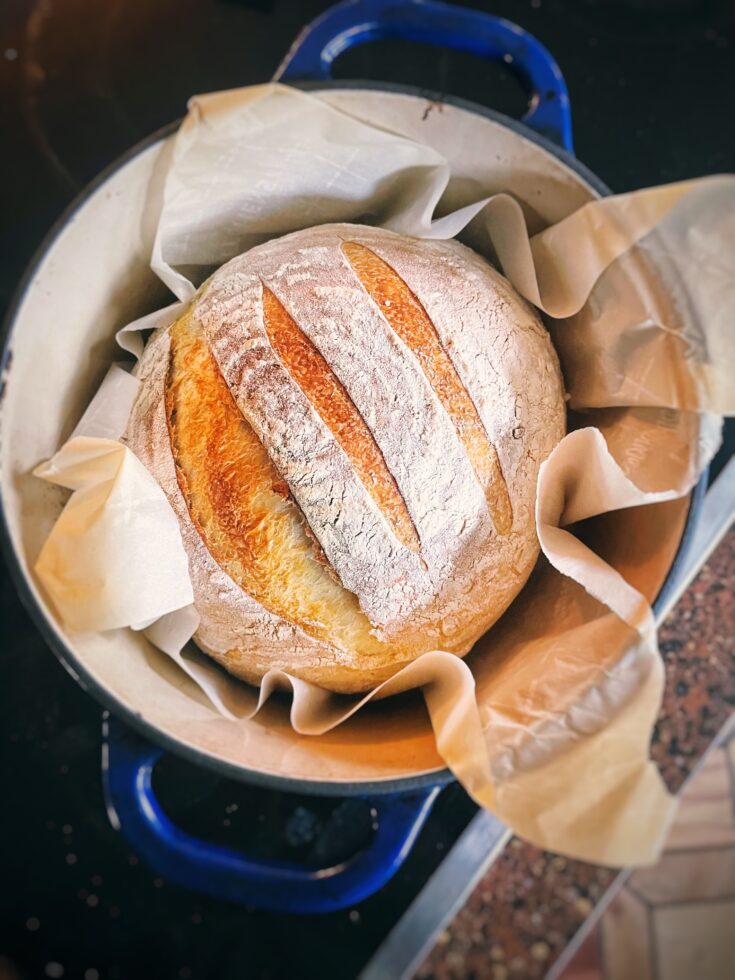
This loaf of sourdough is crunchy, has a perfect chew, and is super easy to make. Looking to get into sourdough? Start Here.
Ingredients
- 120 grams fed (active) sourdough starter
- 600 grams bread flour
- 370 grams water
- 50 grams olive oil
- 12 grams sea salt
Instructions
- Feed your starter (I will usually take 50g of starter from my jar and feed it separately for the recipe, but you can feed the entire jar and take out your 120g later).
- In a large heavy bowl, mix your flour and water together until well blended. Cover and set aside.
- When your starter has doubled, this will mostly likely take a couple hours depending on your temperature and humidity, add the starter and salt to the dough that you blended earlier.
- Work all of the dough together until uniform. Cover and Let rest 30-40 minutes.
- In the bowl, stretch dough out and fold it in half on itself several times until it is very resistant to this (4-5 folds typically).
- Let rest 30 minutes.
- Repeat steps 5 and 6 a total of 3 times.
- Cover dough and allow it to rise 4-6 hours (or 8-12 hours in the refrigerator.)
- Turn out dough onto a lightly floured surface and shape into a rough rectangle, let rest 15-20 minutes.
- Shape dough gently into a ball or log by folding the outer edges in towards the center, being careful not to deflate it.
- Transfer the dough into a greased bowl or proofing basket as desired.
- Cover with plastic and let rest until it has grown roughly 50% (I usually put mine into the refrigerator at this point and bake first thing in the morning)
- Preheat oven to 450 degrees for at least 30 minutes with a large dutch oven inside.
- Turn the dough out onto a piece of parchment paper, slash and transfer into the hot dutch oven.
- Bake 30 minutes covered.
- Remove cover and bake an additional 15 minutes to brown.
- Let the bread cool in the dutch oven 15-20 minutes before transferring to wire rack.
Recommended Products
As an Amazon Associate and member of other affiliate programs, I earn from qualifying purchases.
Nutrition Information:
Yield:
12Serving Size:
2 slicesAmount Per Serving: Calories: 217Total Fat: 5gSaturated Fat: 1gTrans Fat: 0gUnsaturated Fat: 4gCholesterol: 0mgSodium: 390mgCarbohydrates: 36gFiber: 1gSugar: 0gProtein: 6g
